
BBE Music present Remixes & Reimaginations by Mark de Clive-Lowe, featuring “Cosmosis” by Yameen & Amp Fiddler.
Thangs
Miscellaneous things Yameen finds and posts up.
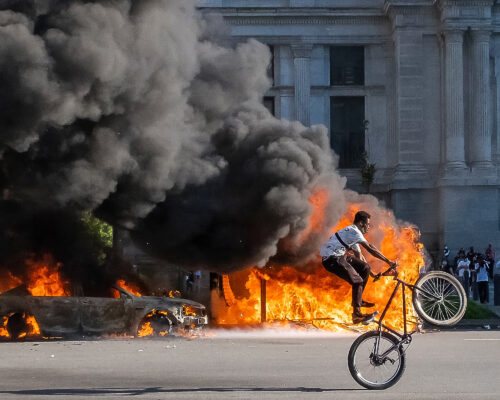
Koyaanisqatsi by SUPREMEeX — Now Streaming
First-ever digital release of a rare 2002 instrumental hip-hop single by me, originally issued on limited 7″ vinyl by Arrakis Records.
Big Brother Resistance — Now Streaming
Instrumental hip-hop from Big Brother Resistance (1998-1999), a Philadelphia-based band. Produced by Yameen, now streaming for the first time.

Nuntype Interview – Tajai & SupremeEx (Goodie Goodie, 2004)
Tajai and Yameen (SupremeEx) get philosophical in this 2004 interview about their full-length album, Nuntype. No PhD required.

Del the Funky Homosapien & the Video Games that Inspired Him
A detailed look at Del’s relationship with video game and otaku culture.

Limited Edition 7″ 45rpm Picture Disc Vinyl
Custom-made, limited edition, 7-inch picture disc vinyl featuring visual artists Sebastian Curi, Sahlooter & Pandayoghurt — for charity!
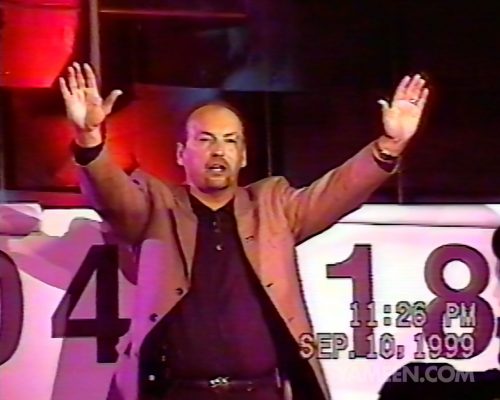
Dreamcast Launch: Peter Moore Announces Sales (Video), 1999
The day after the Sega Dreamcast launched in North America on 9/9/99, Sega’s Peter Moore announces the sales figure of “the biggest launch in entertainment history.”

Digital Underground Live 1999 – HD (“I Get Around” & more)
Digital Underground performs live in San Francisco in 1999 — now in HD.
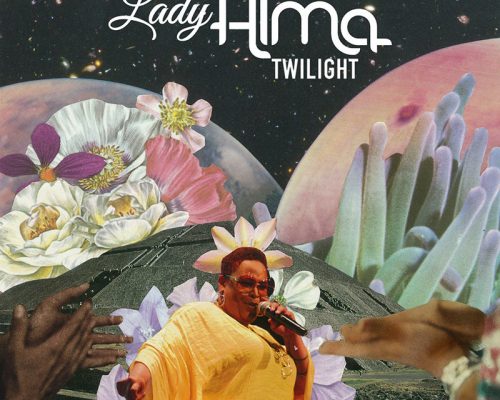
Twilight, Lady Alma & Mark de Clive-Lowe
Twilight is a 9 song collection by Lady Alma & Mark de Clive-Lowe featuring my track “Light of Love” and others by Philadelphia’s First Lady of House Music.

The Last Emperor Live, Philly – 1999
Philly’s own hiphop legend The Last Emperor performs over 20 minutes of live music including “Secret Wars”, “Bums” & “CIA” in his hometown, 1999.